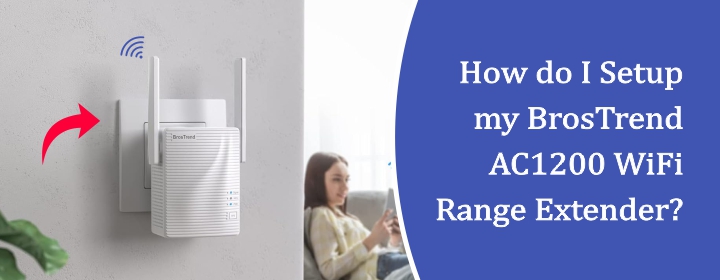
How do I Setup my BrosTrend AC1200 WiFi Range Extender?
There are two methods to setup the Brostrend WiFi AC1200 WiFi range extender: WPS and UI interface. We will explain both of the methods correctly and deeply. After that, we will add a few tips that you should apply after resetting the device.
Method1: WPS Connection Setup
- Begin with plugging your extender nearby your host router.
- Then, wait for the PWR LED show solid light, means the device is fully booted.
- Now, press the WPS button on your router and within 2 minutes press WPS button on the extender.
- The WPS LED on the extender starts blinking, means the extender finding for a WPS connection.
- The Signal LED turns on which means the extender is connected to the extender via WPS.
Now, choose an optimal location for the extender and connect devices with the extended network using host router SSID password.
Method2: Web-Based Interface Setup
- To extend the WiFi network via web user interface, you have to connect a computer with the extender SSID network.
- To connect go into the PC’s Wi-Fi and select extender’s SSID network (BrosTrend_ext).
- Then, open PC’s browser and search the URL re.brostrend.com or IP address 192.168.0.254
- Create a login password for the next login and click NEXT.
- On the next page, Select the WiFi network (you host router network) that you want to extend.
- Enter the router password and connect the extender with it. On the next page, you can create the extender separate network.
Now, the extender is successfully connected with the host router and you can join the extended network easily. The next step should be relocating your BrosRrend AC1200 WiFi Booster range extender in your house.
Tips After Setup to Increase Performance
Knowing of Extender LEDs
The PWR LED on your extender shows the status of the electric sully to the extender. If the LED is solid, it means the device is powered on, if blinking means the device is starting, and if it is off, means the extender is off.
The WPS LED indicates the connection between the host router and extender. The WPS LED blinking means the devices is trying to set connection with host router via WPS.
The Signal LED shows blue and red color light. This LED indicates the status of the connection strength between the extender and router. The blue light color means nest connection and red-light color means not optimal connection.
Reboot Once in a Week
It is advisable that you restart your extender at weekly basis to bring the best performance from the extender device. To reboot, find the power button on the extender and press it twice.
Relocate to Optimal Spot After Setup
After the setup, you should choose an optimal location for the extender in your house. The spot of the extender must lie in between the host router, dead zones, and internet devices (a center location of the house).
Reset If Issue Occurs
Factory reset helps when there is no other option to resolve a technical issue. This process deletes all settings and pervious data from your extender, so after resetting your device, you should re-configure it. To reset:
- Locate the RESET button given on the side panel of the extender.
- With the help of a pin or pen, press the button and hold it for 10 seconds.
- Wait for a few minutes and after reset, perform the brostrend WiFi extender setup again.
Summary
The BrosTrend WiFi extender helps your home router signals to reach every corner of your house. From this blog, you have learned about how to connect the extender to the host router with two methods: WPS or interface UI.
FAQs
- Make sure you are using the login URL re.brostrend.com or IP address 192.168.0.254.
- Connect with the extender’s WiFi network to reach the We-based interface.